Configure Aurora server
Prerequisite
Before you begin:
Complete setting up the network (make sure DNS and Search domain are set up correctly).
Configure the Aurora server
To set up the Aurora server, follow these steps:
On the ScaleArc dashboard, click the Clusters tab > Add Cluster button.
Complete setting up the network and database access.
- Locate Servers on the Create Cluster screen. This is the third panel on the screen.
- Select Cluster for Server Type and Aurora from the drop downs.

- Click Configure Server.
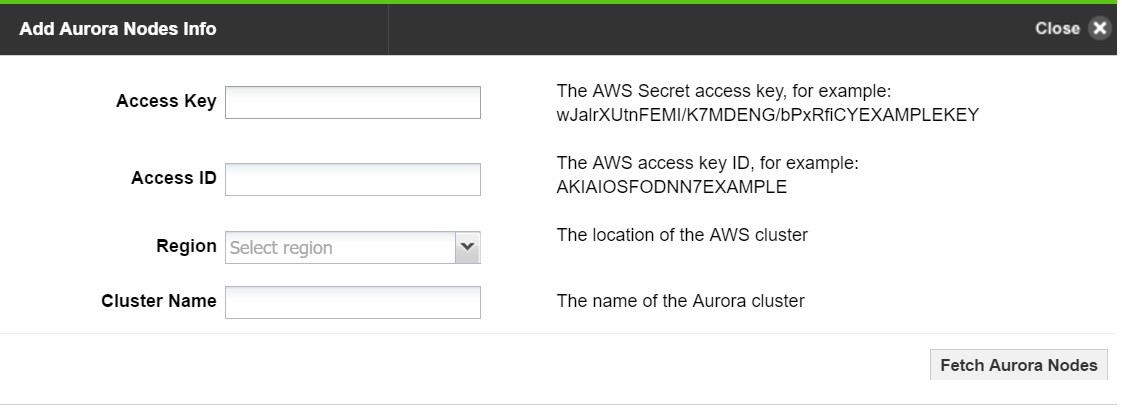
- Specify the Aurora nodes information.
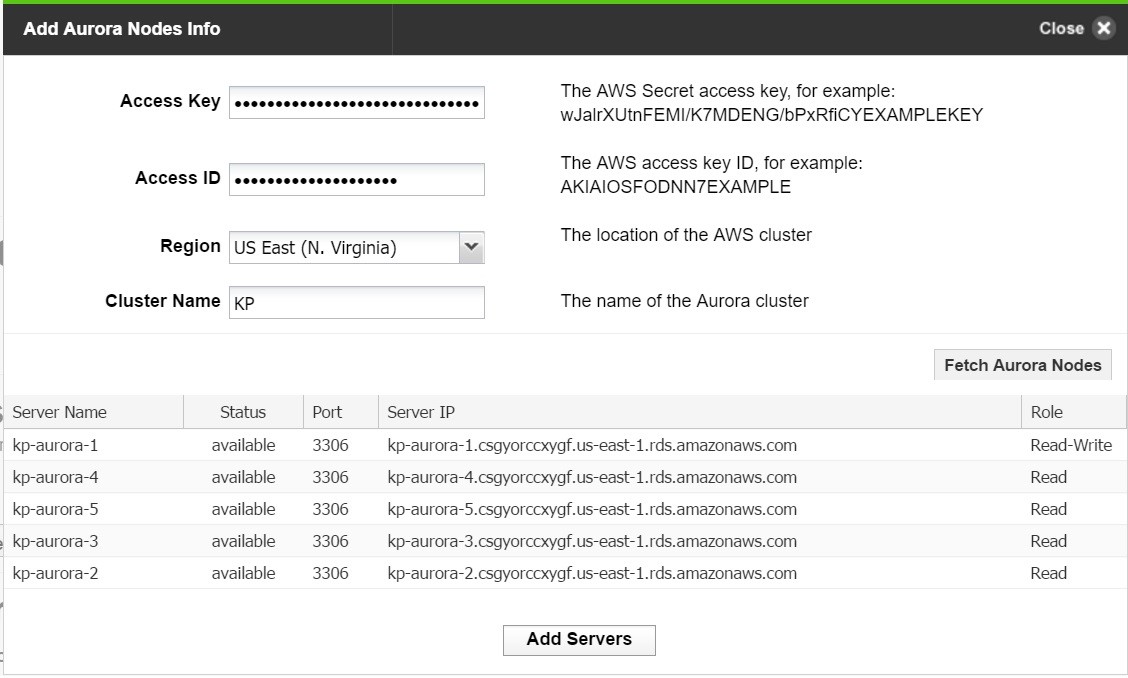
- Enter the access key, access ID, region, and name of the Aurora cluster.

-
Click on Fetch Aurora Nodes. This will connect to Amazon RDS and fetch all the configured servers.

- Click on Add Servers to add all the servers to the Aurora cluster.
- The Start Cluster After Setup setting determines if the cluster is ON or OFF immediately following a setup.
- Click Setup Cluster to complete the configuration.
- If you have incorrectly configured the settings, you may see an error alert.
- Click OK. Any error appears in the Configuration log section of the screen. Review the details and address the error to complete the set up. Note that you can also download a copy of the error for your record.

- Click Finish to set up the cluster.
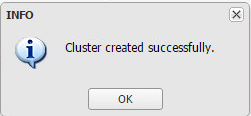
- When completed, the system posts a notification.

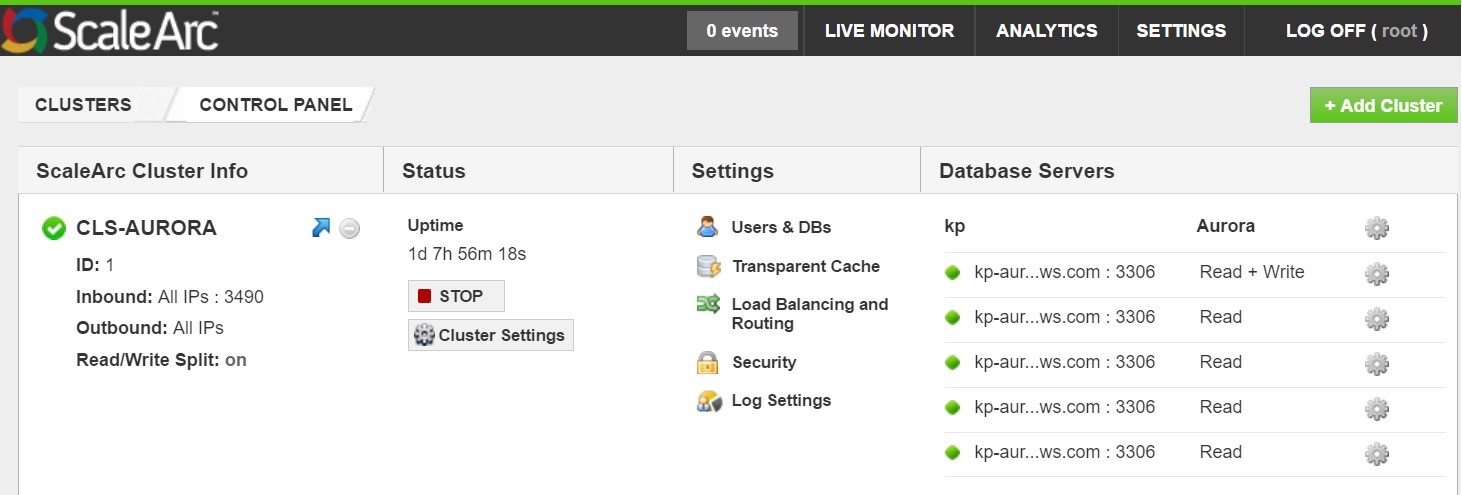
- The cluster appears in the control panel of the dashboard.

- If you selected the checkbox (its default setting) in Start Cluster After Setup, the cluster's green icon indicates that the cluster is already running. If you deselected this option, the cluster icon is red, indicating that you need to start the cluster. Click START in the second column to run the cluster. The icon turns green. Click STOP to halt the cluster.
On this page

Comments