
You will need to set up the Azure Active Directory before you can create a ScaleArc cluster on Azure SQL Database. When configured, ScaleArc calls the Azure APIs to fetch information on the setup to validate the configuration, using the Service Principal Name (SPN) to log in to Azure AD.
Setting up Azure AD on ScaleArc has an additional benefit--it supports authentication offload for Azure AD Password authentication logins.
Configure Azure AD
Integrate ScaleArc with Microsoft's Azure Active Directory (Azure AD) as follows:
- From the drop down menu, click System Configuration.

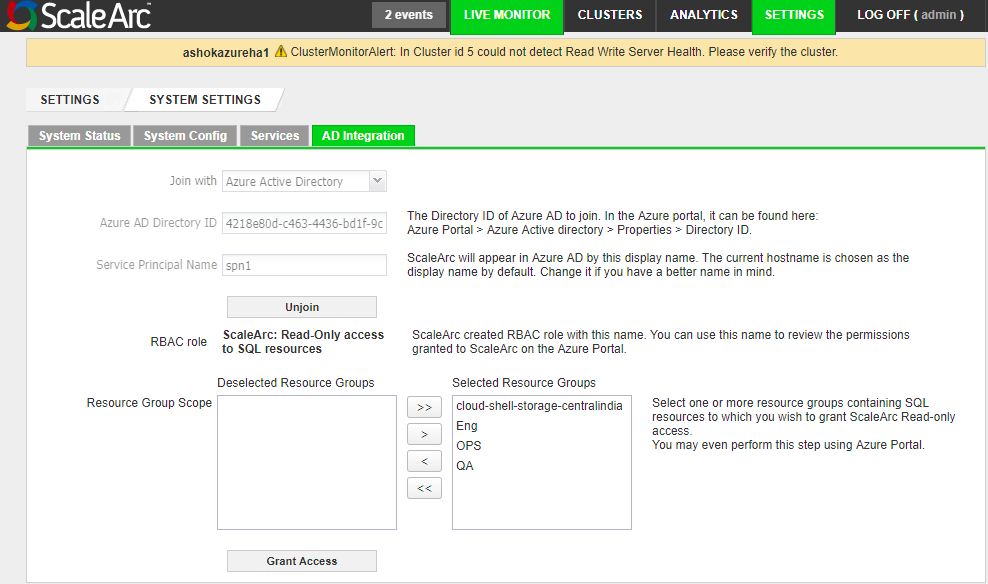
Click the AD Integration tab. Select Azure Active Directory from the dropdown.

Complete the fields as follows.
Field Description Default/User input Azure Active Directory The Directory ID of the Azure AD you need to join.
1 In the Azure portal, click Azure Active Directory > Properties > Directory ID. 2 Copy over the Directory ID. Server Principal Name (SPN) ScaleArc appears in Azure AD by this display name. By default, the current hostname or IP address is the display name. This name is editable.
Use the default name or enter a different name. - Click Join.
- Copy the code and click the link in the yellow banner.

- Enter the code. Click Continue.

- Enter the Azure AD user credentials to log in. Once you enter the valid admin user credentials on the Azure AD's login page, ScaleArc establishes an admin session with Azure AD. It creates an SPN for itself on Azure AD and generates the RBAC roles describing the Read-only permissions that it needs. This process may take some time to complete.

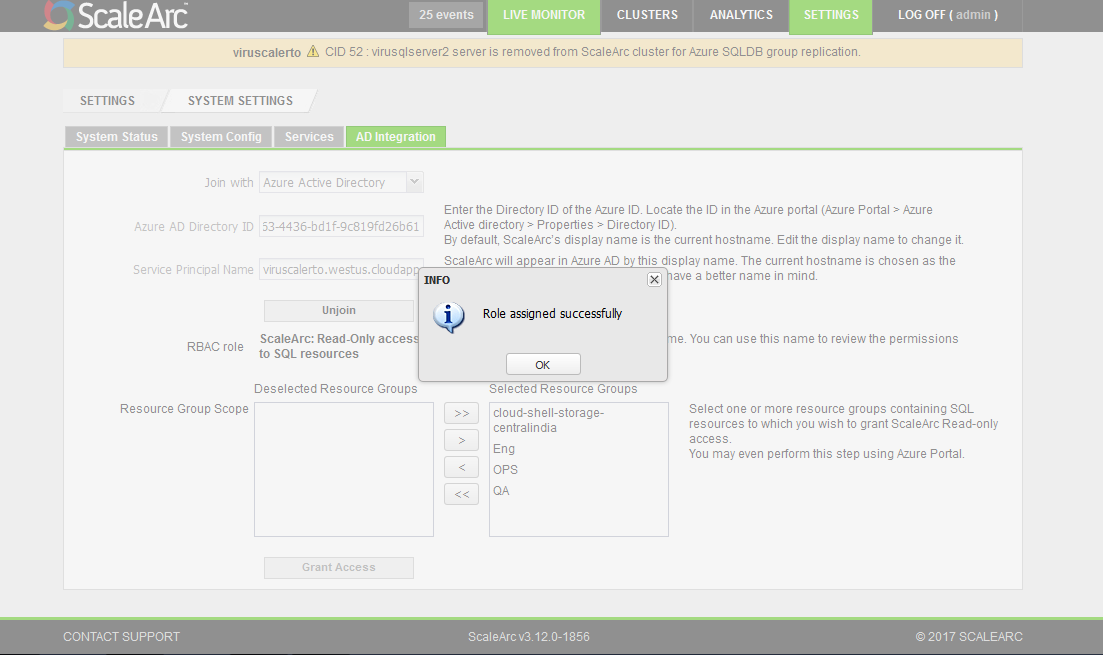
- On completion, the screen displays a success notification. Click OK.

- By default, the 'Selected Resource groups' column lists all the available resource groups. The RBAC role permissions are limited to the groups in this column. To remove a group from the list, select and move it into the left column. Click Grant Access. Note that you can also provide access on the Azure AD Portal.
- ScaleArc posts a success notification. Click OK to complete the setup.
Comments