
Cache Manager allows you to clear the cache from memory under very specific circumstances. Standard cache control expire with a TTL setting. However there are conditions when we need more control over dynamic content or content that may expire periodically. Here we can delete all cache, delete cache for a specific database, or delete cache within databases which match a specific pattern and apply the rules to a schedule.
Clear Cache
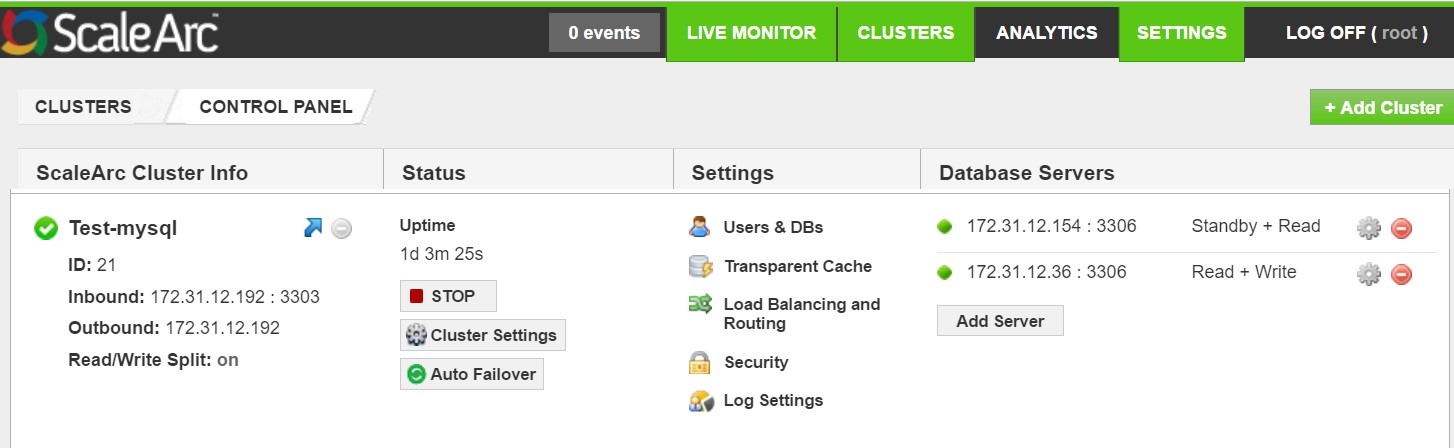
- On the ScaleArc dashboard, click Clusters > Settings > Transparency Cache.
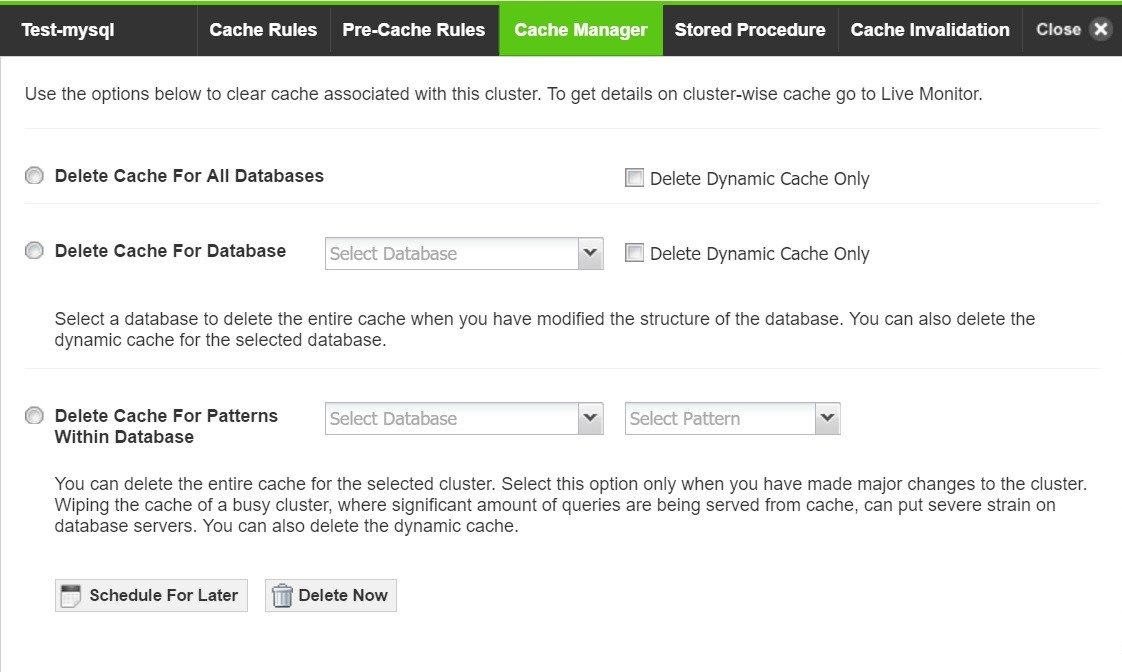
- Click the Cache Manager tab.
Configure the fields as follows:
Field Description Default/User Input Delete Cache For all Databases This option deletes the entire cache for the selected cluster. Select this option only when you have made major changes to the cluster. Wiping the cache of a busy cluster, where significant amount of queries are being served from cache, can put severe strain on database servers.
Select the radio button. Delete Cache for Database Select a database to delete the entire cache when you have modified the structure of the database or added or removed major tables. You can also delete the dynamic cache for the selected database.
Select the radio button. Delete Cache for Patterns Within Database Select a database and the pattern to delete the entire cache for the pattern added for the specified database. A single pattern may be responsible for caching many queries.
1 Select the radio button. 2 Then, choose the database and the pattern from the drop downs. Schedule for Later button Schedules the deletion of the cache at the specified hour of the day. See below. Delete Now button Deletes the cache.
Click on the Delete Now button.
Set update schedule
You can schedule a cache delete to occur over a period of time.
- Click on a delete option (for example, Delete Cache for Database) and select the database from the drop down.
- Click the Schedule for Later button.
- Identify the day(s) and hours for your scheduled deletes.

- Click on Update Schedule to commit the configuration.

- Alternatively, click Back to cancel and return to the previous screen.
Comments