
This section of the Guide provides instructions for installing ScaleArc on VMware.
Select a method
You can install ScaleArc on VMware by using either the ISO file with a manually-provisioned virtual machine or by using the OVA. We recommend installing ScaleArc using the ISO for pre-production or production installations. The OVA is sized appropriately for smaller installations or demonstrations. Also, review best practices for VM migration before you begin.
Install ScaleArc with ISO
Create a virtual machine
Use the VMware client to create a new virtual machine:
Go to File- > New -> Virtual Machine.

Select Custom and click Next.

Choose a name and location for the virtual machine. Then, click Next.

Select a destination storage for the virtual machine files and click Next.

Specify the virtual machine version. Click Next.

Specify the guest operating system as Linux version CentOS 4/5/6 (64-bit). Click Next.

Select the number of vCPUs for the virtual machine. The total number of vCPUs allocated should be at least two greater than the number licensed for ScaleArc use. To maximize efficiency, the number of vCPUs should be balanced across sockets and cores. For example, an eight vCPU virtual machine should be configured for two sockets with four cores each, or four sockets with two cores each, rather than one socket with eight cores or eight sockets with one core each.

Specify the virtual memory size. The minimum memory size should be 4GB (with a recommendation for at least 8GB). Click Next to continue.

Specify the network connections to be used by the virtual machine. Specify the number of NICs you want to connect, choose the VM network, and the adapter as per your environment. Select the latest VMXNET adapter type and enable the Connect at Power On checkbox.

Specify the SCSI controller type you would like to use and click Next.

Select the Create a new virtual disk radio button. Click Next.

Specify the virtual disk size and provisioning policy and click Next. In a production environment, ScaleArc does not recommend Thin provisioning. Refer here for the ScaleArc Sizing details.

Specify the advanced options for the virtual disk. Click Next.

Review the settings for the new virtual machine. Select Edit the virtual machine settings checkbox before completion to connect the ScaleArc ISO to the virtual DVD drive. Click on Continue to begin the process of creating the virtual machine.

Select the CD/DVD item. Under Device Status in the right panel, select the check box Connect at power on.

Under Device Type section on the right, select the Datastore ISO File option and then browse to the location of the ScaleArc ISO file provided to you. Click Open. Then, search for the ISO, select, and click OK.

Select Virtual machine in the left panel. Then, click Power on the virtual machine in the right panel and click on the console tab to see the ScaleArc vinstall screen. This completes the virtual machine provisioning.

Install ScaleArc on VMware
Boot up the machine, you will see the following Welcome to ScaleArc Installer screen on the virtual machine console.

Select the Install ScaleArc option on the Welcome to ScaleArc Installer screen. Hit Enter.
The package installs on the machine.
Log into ScaleArc
If you have successfully installed ScaleArc, on restart the screen displays a login prompt. This is the first time you are logging in to the ScaleArc system.
Log in using the following credentials:
Username: adminPassword : admin@123
Select option 1 to change the IP /Gateway/Subnet.
Enter the IP address, gateway, and subnet. Enter 1 to apply settings.
Once the network is set, use the same IP address in your browser to see the ScaleArc user interface. If you have any trouble accessing the ScaleArc user interface make sure you have secured the network cabling and the switch/router configuration is in place.
By default, ScaleArc uses a self-signed certificate for communication via HTTPS. Since it is self-signed, the screen displays an untrusted certificate alert while accessing ScaleArc.
A successful network setup brings up the Welcome screen.
You are ready to initialize ScaleArc.
Install ScaleArc OVA
Install ScaleArc on VMWare using the OVA template as follows:
Create a virtual machine
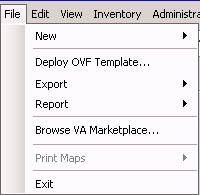
- Go to VMware host, click on File and select Deploy OVF template.
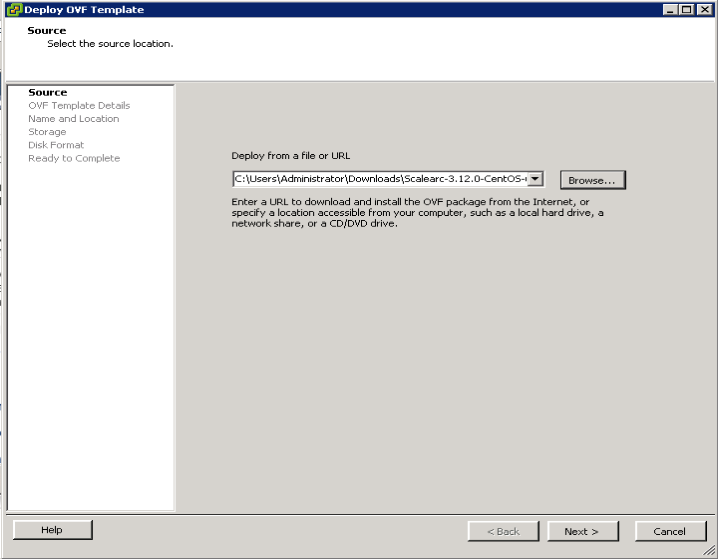
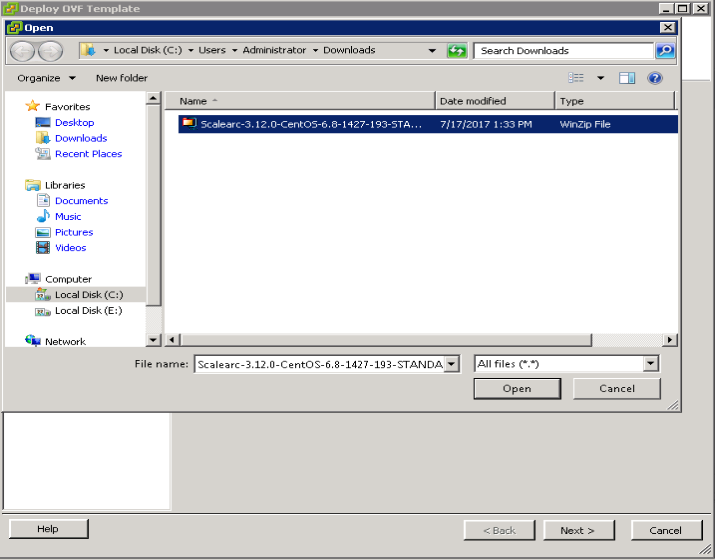
- Click on Browse and select the path to the OVA file.
- Locate the OVA file.
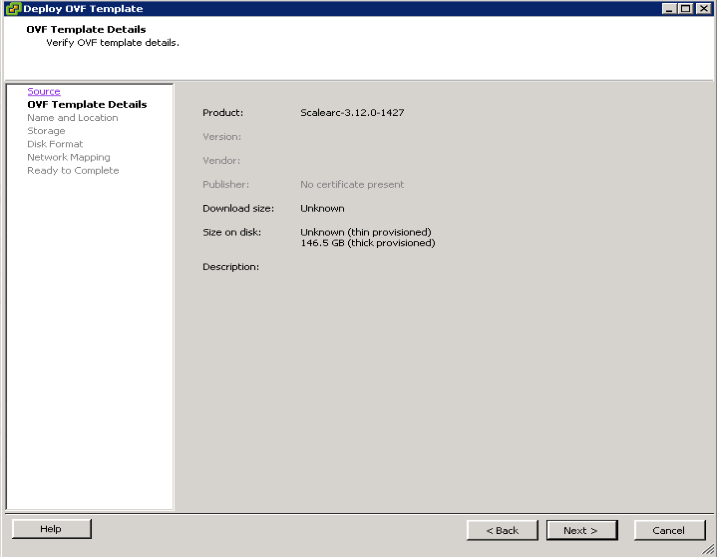
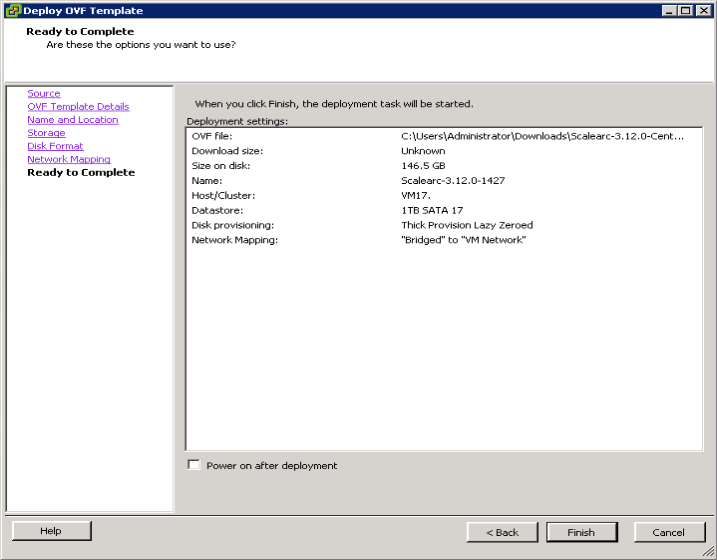
DeSA-Demo-InstallDiskSwapVMSource1--7-13-17.pngSA-Demo-InstallDiskSwapVMSource1--7-13-17.png - Review the OVA Template Detail.
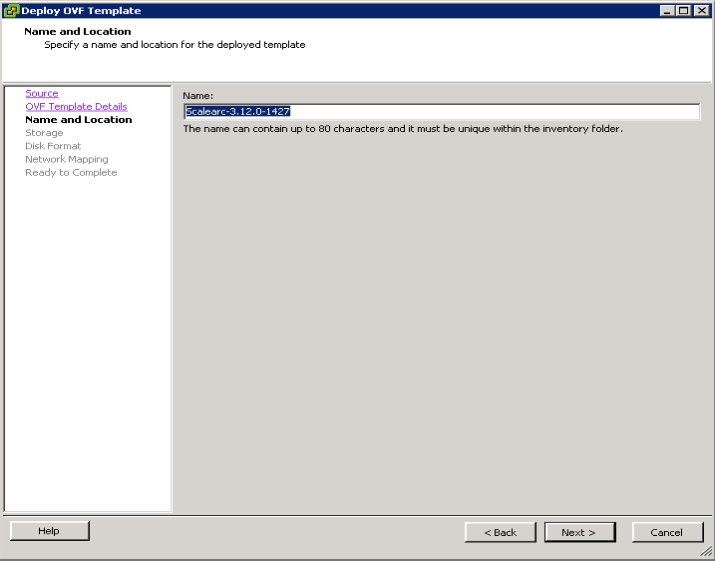
- Enter the Name of the Virtual machine.
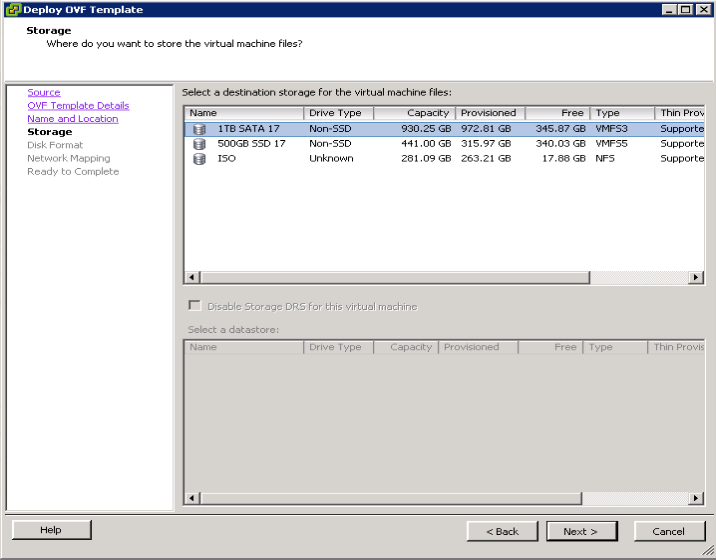
- Select the Storage option in which to store the virtual machine files and click Next.
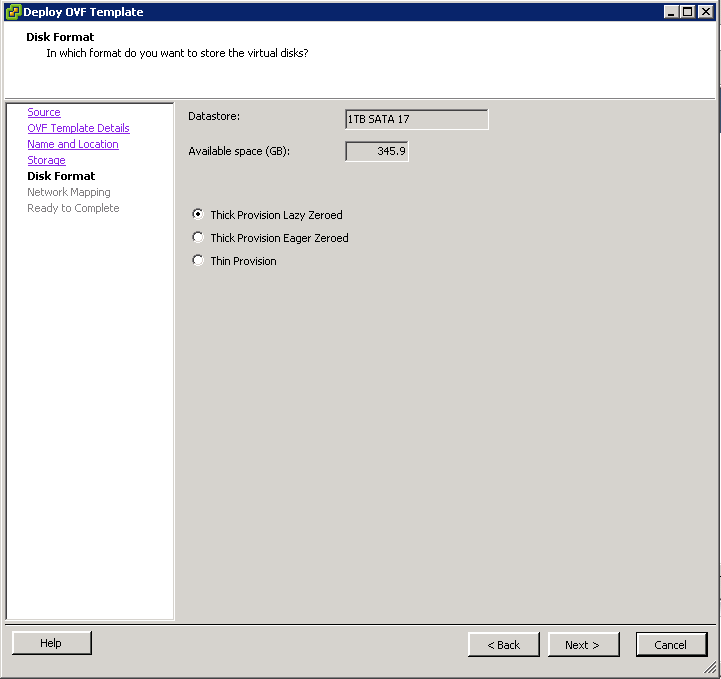
- Select the format (Thick / Thin) in which to store the Virtual Disks.
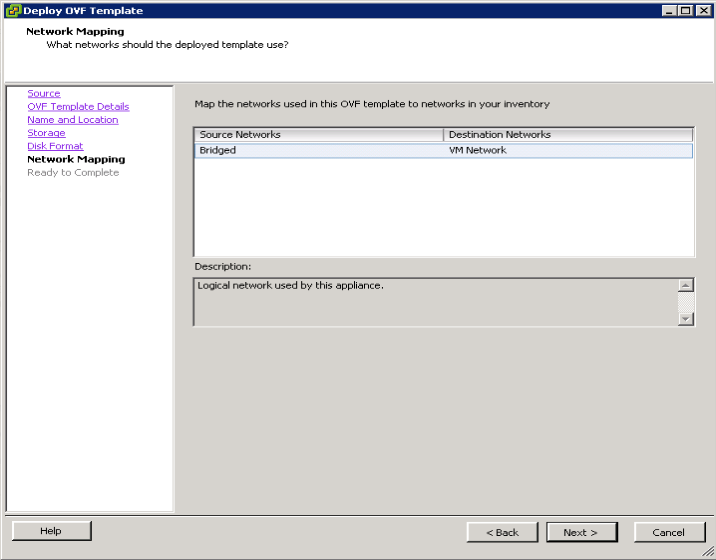
- Select the Networks the deployed machine should use.
- Select the Power ON checkbox. Click Finish.
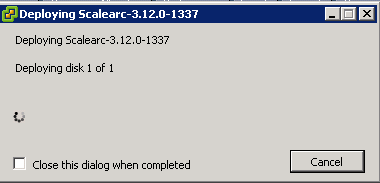
- This starts deploying the template.
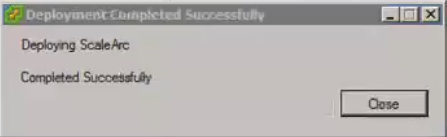
Select Close when the deployment has completed. You have now successfully installed ScaleArc with 8 GB of RAM and 16 GB of swap space.
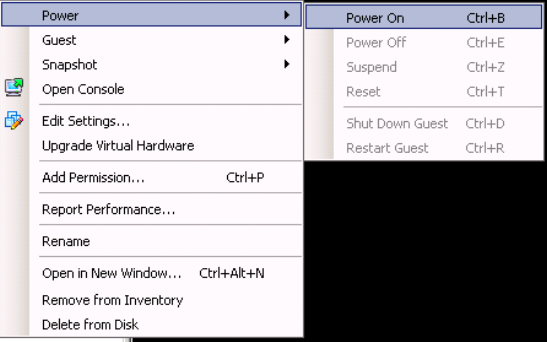
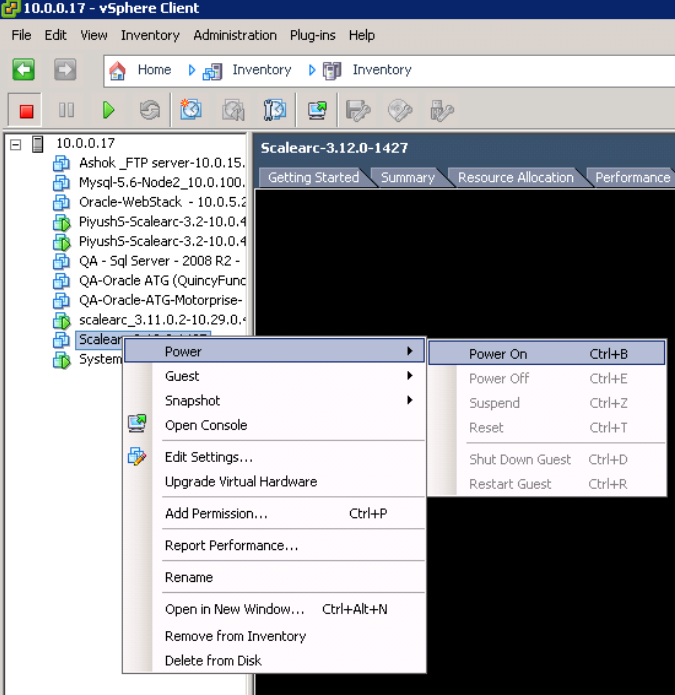
- Right click on the Virtual machine and Power ON if you haven't pre-selected this option.
Log in to ScaleArc
Log in at the prompt, when the VM is initialized. This is the first time you are logging into ScaleArc. Enter these login credentials:
Username: admin
Password : admin@123
- Select option 1 to change the IP /Gateway/Subnet. Enter the IP address, gateway, and subnet. Enter 1 to apply settings.
- Enter the IP address, gateway, and subnet. Enter 1 to apply settings.
- Once the network is set, use the same IP address in your browser to see the ScaleArc user interface. If you have any trouble accessing the ScaleArc user interface make sure you have secured the network cabling and the switch/router configuration is in place.
- By default, ScaleArc uses a self-signed certificate for communication via HTTPS. Since it is self-signed, the screen displays an untrusted certificate alert while accessing ScaleArc.
A successful network set brings up the Welcome screen. You are ready to initialize ScaleArc.
Change the default memory and disk swap size
ScaleArc provides you the option to change both the default RAM and disk swap size.
Upgrade the RAM
In order to review the memory size, you need to first initialize ScaleArc and enable SSH access.
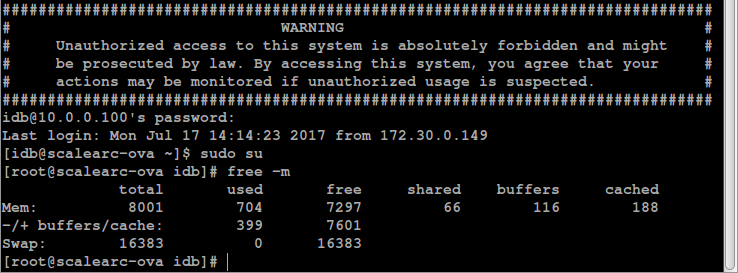
- View the existing memory allocation using SSH.
- Select the Virtual machine and Power OFF.

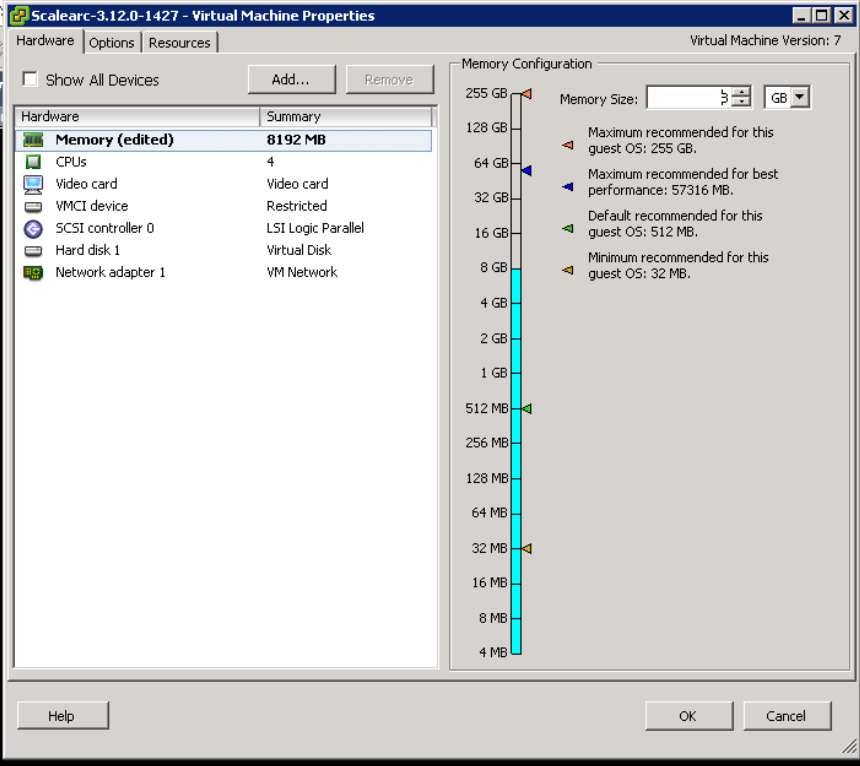
- Click Edit Settings.

- In the right column, change the memory size to the desired numeral. Click OK.
- Click Power ON.
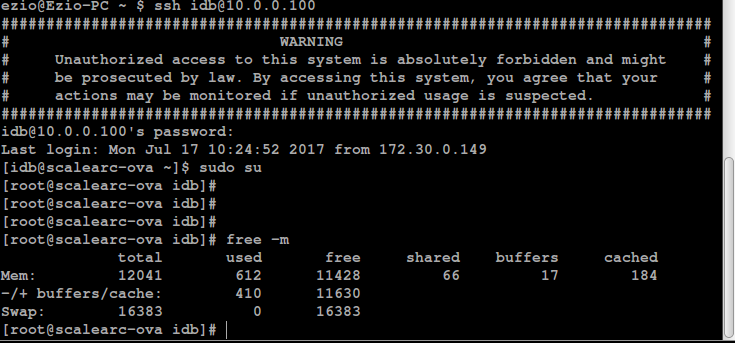
- View the upgraded memory using SSH.
Upgrade the disk swap space
Follow these steps to increase the swap space from the default.
Comments